I passed the Azure Fundamental Exam a few days back. I was able to do so, in spite of the exam itself.
It is not that the material is difficult. On the contrary, if you have a cloud background like myself or even measure of IT experience, you can take Azure fundamentals and be able to be ready for the exam. As an aside, if you see an opportunity to go to the Microsoft Azure Virtual Training Day: Fundamentals event, you should, as you will probably get a free voucher.
The main problem is the exam. As turns out, the OnVUE software on a Mac is buggy - very buggy. I spent at least part of the exam trying to actually click on the answers, or waiting for the page to move forward. At some point, I was done with the exam and the software told me that I have two unanswered questions. So I went to the question, click on one of the answers, then when I clicked on next. . . .
. . . it clear itself off.
To PearsonVue's credit, I was at least able to schedule on the very same day I decided to take it. And since AWS Certification uses the same software well, this experience gave me a good idea of what to expect if I decided to renew my AWS Certifications next year.
Speaking on certifications, this experience does not give me any good feelings about Red Hat Remote Certification Exams. Ideally, the UI for the exam should be web-based like the Linux Foundation exam, where you remote in through the browser. If Red Hat is going to use special software to get people into the exam, it would likely to be buggy for the first couple of months, so I am going to hold off scheduling my exams at least until October.
Back to Azure - I am pretty impressed with what Microsoft has done with Azure. If I would to start over and the company I work for hasn't moved to the public cloud, I would consider Azure. They seem to be more business and IT friendly than AWS, who I consider to be more developer friendly.
I have been converting my terraform shell wrapper scripts to makefiles. There it is not really necessary - it was just fun learning the purpose of Makefile and how you would build them. While makefiles are built by a configure script, which, in turn are build by macros like Autoconf, you can build makefiles by hand, like so for my Digital Ocean account:
TERRAFORM_CMD :=    terraform
SRC_IP              :=  $(shell curl ipv4.icanhazip.com)
DOMAIN_NAME     :=  "example.com"
CREATE_PLAN     :=  "terraform-create.tfplan"
DESTROY_PLAN    :=  "terraform-destroy.tfplan"

PUBLIC_KEY      :=  "${HOME}/.ssh/id_rsa.pub"
.DEFAULT_GOAL :=    plan

TERRAFORM       :=  AWS_ACCESS_KEY=$(DO_ACCESS_KEY) AWS_SECRET_KEY=$(DO_SECRET_KEY) $(TERRAFORM_CMD)
PARAMS              :=  -var "domain_name=$(DOMAIN_NAME)" -var "src_ip=$(SRC_IP)" -var "public_key=$(PUBLIC_KEY)" \
                                    -var "do_token=${DO_PAT}"  \
                                    -var "spaces_access_key=${DO_ACCESS_KEY}" -var "spaces_secret_key=${DO_SECRET_KEY}"
init:
                @ $(TERRAFORM) init

module:
                @ $(TERRAFORM) get

plan:
                @ $(TERRAFORM) plan -out=$(CREATE_PLAN) $(PARAMS)

apply:
                @ $(TERRAFORM) apply -auto-approve -state=$(CREATE_PLAN) $(PARAMS)

list:
                @ $(TERRAFORM) state list

taint:
                @ $(TERRAFORM) taint $(RESOURCE)

destroy :
                @ $(TERRAFORM) plan -destroy -out=$(DESTROY_PLAN) $(PARAMS)
                @ $(TERRAFORM) destroy -auto-approve -state=$(DESTROY_PLAN) $(PARAMS)
I defined most of my variables using := operators, then I define the rules to run my commands. In most cases, I have to prefix the access and secrets key in front of my terraform command (partly because managing state in non-AWS object buckets doesn't work without fooling terraform to thinking that the AWS access keys are set), so in my rules, I prefix @ to suppress the output of those credentials. After that, it mostly works well:
rilindo@allmight lfce (add_make_file_to_cka)*$ make plan
  % Total    % Received % Xferd  Average Speed   Time    Time     Time  Current
                                 Dload  Upload   Total   Spent    Left  Speed
100    16  100    16    0     0     57      0 --:--:-- --:--:-- --:--:--    57
Refreshing Terraform state in-memory prior to plan...
The refreshed state will be used to calculate this plan, but will not be
persisted to local or remote state storage.

module.ldap01.data.template_file.custom_user_data: Refreshing state...
module.ha02.data.template_file.custom_user_data: Refreshing state...
module.host01.data.template_file.custom_user_data: Refreshing state...
module.storage01.data.template_file.custom_user_data: Refreshing state...
module.node02.data.template_file.custom_user_data: Refreshing state...
module.node01.data.template_file.custom_user_data: Refreshing state...
module.ha01.data.template_file.custom_user_data: Refreshing state...

------------------------------------------------------------------------

An execution plan has been generated and is shown below.
Resource actions are indicated with the following symbols:
  + create

Terraform will perform the following actions:

  # module.domain.digitalocean_domain.default will be created
  + resource "digitalocean_domain" "default" {
      + id   = (known after apply)
      + name = "example.com"
      + urn  = (known after apply)
    }
.
.
.
.
.
.

  # module.storage01_volumes.digitalocean_volume_attachment.vol4_attach will be created
  + resource "digitalocean_volume_attachment" "vol4_attach" {
      + droplet_id = (known after apply)
      + id         = (known after apply)
      + volume_id  = (known after apply)
    }

Plan: 25 to add, 0 to change, 0 to destroy.

------------------------------------------------------------------------

This plan was saved to: terraform-create.tfplan

To perform exactly these actions, run the following command to apply:
    terraform apply "terraform-create.tfplan"
I recently rebuilt my Raspberry rig with a new kit. It was going well until I couldn't seem to tighten the screws. After about a half hour of fussing around with the kit, I lay down the screws in a line and found the problem:

Three guesses as to what the problem was.
In spite of the screws, it is stable enough that it should be able to hold while the store owner send me the replacements, so here it is:
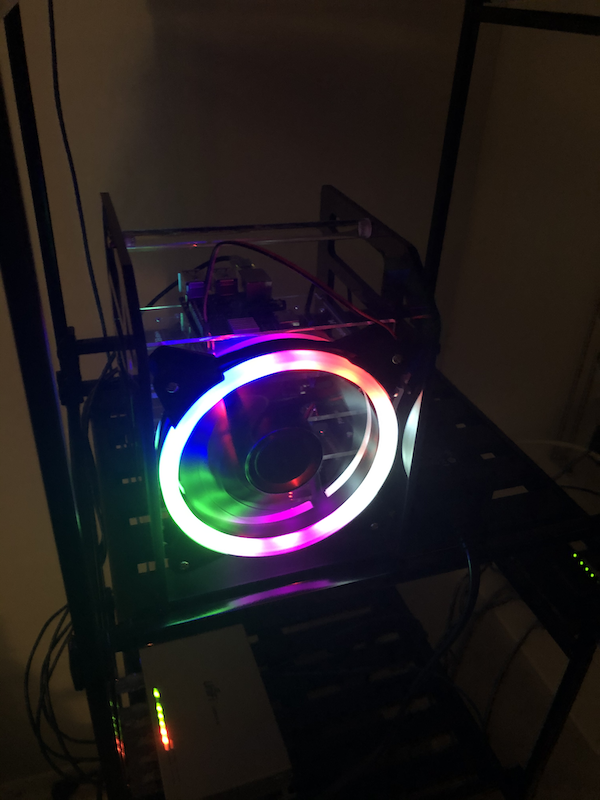
It has 4 Pi(s?) - two Raspberry Pi 3, and two Raspberry Pi 2. The Raspbery Pi 3s run Centos 7, while Raspberry Pi 2s run Ubuntu, one of which is running Pi-hole. I tried install Pi-Hole on CentOS 7, but it looks like it doesn't work very well on the ARM version.
Length matters with USB cables, especially when trying to power on a Raspberry PI. I should realize that when I wasted my time re-flashing my sd-cards while trying to figure why my Raspberry PI keeps rebooting.
Finally, dding my 32 Gig SD cards with the CentOS 7 image left a lot of space unused, as actual partitions all totaled 8 Gigabytes. I was able to extend the root partition to use the rest of the disk as follows:
First, I ran fdisk on the partition
fdisk /dev/mmcblk0
Welcome to fdisk (util-linux 2.23.2).

Changes will remain in memory only, until you decide to write them.
Be careful before using the write command.
Next, I print the partition layout:
Command (m for help): p

Disk /dev/mmcblk0: 32.0 GB, 32010928128 bytes, 62521344 sectors
Units = sectors of 1 X 512 = 512 bytes
Sector size (logical/physical): 512 bytes / 512 bytes
I/O size (minimum/optimal): 512 bytes / 512 bytes
Disk label type: dos
Disk identifier: 0x0002a15f

        Device Boot      Start         End      Blocks   Id  System
/dev/mmcblk0p1   X        8192      593919      292864    c  W95 FAT32 (LBA)
/dev/mmcblk0p2          593920     1593343      499712   82  Linux swap / Solaris
/dev/mmcblk0p3         1593344     5109759     1758208   83  Linux
And made note on the starting sector number 1593344 on /dev/mmcblk0p3.
Then I deleted that partition:
Command (m for help): d
Partition number (1-3, default 3): 3
Partition 3 is deleted
And then recreated that partition, using sector number 1593344 that I got from the previous step:
Command (m for help): n
Partition type:
   p   primary (2 primary, 0 extended, 2 free)
   e   extended
Select (default p): p
Partition number (3,4, default 3): 3
First sector (2048-62521343, default 2048): 1593344
Last sector, +sectors or +size{K,M,G} (1593344-62521343, default 62521343):
Using default value 62521343
Partition 3 of type Linux and of size 29.1 GiB is set
Finally, I save the partition by typing w, then created a file to force a file system check:
And now I can see that my root partition is using most of the disk:
Last login: Sun May 24 02:11:10 2020 from allmight.monzell.com
[root@rnode01 ~]# df -h
Filesystem      Size  Used Avail Use% Mounted on
/dev/root        29G  2.0G   27G   7% /
devtmpfs        459M     0  459M   0% /dev
tmpfs           464M     0  464M   0% /dev/shm
tmpfs           464M   41M  423M   9% /run
tmpfs           464M     0  464M   0% /sys/fs/cgroup
/dev/mmcblk0p1  286M   51M  235M  18% /boot
tmpfs            93M     0   93M   0% /run/user/0
Credit goes to LinuxConfig for the fix, plus Red Hat KB for more technical detail.
Yes, I know about the weird red boxes in code examples. Either I need to upgrade Pelican or use a better plugin for code snippets. For now. . .